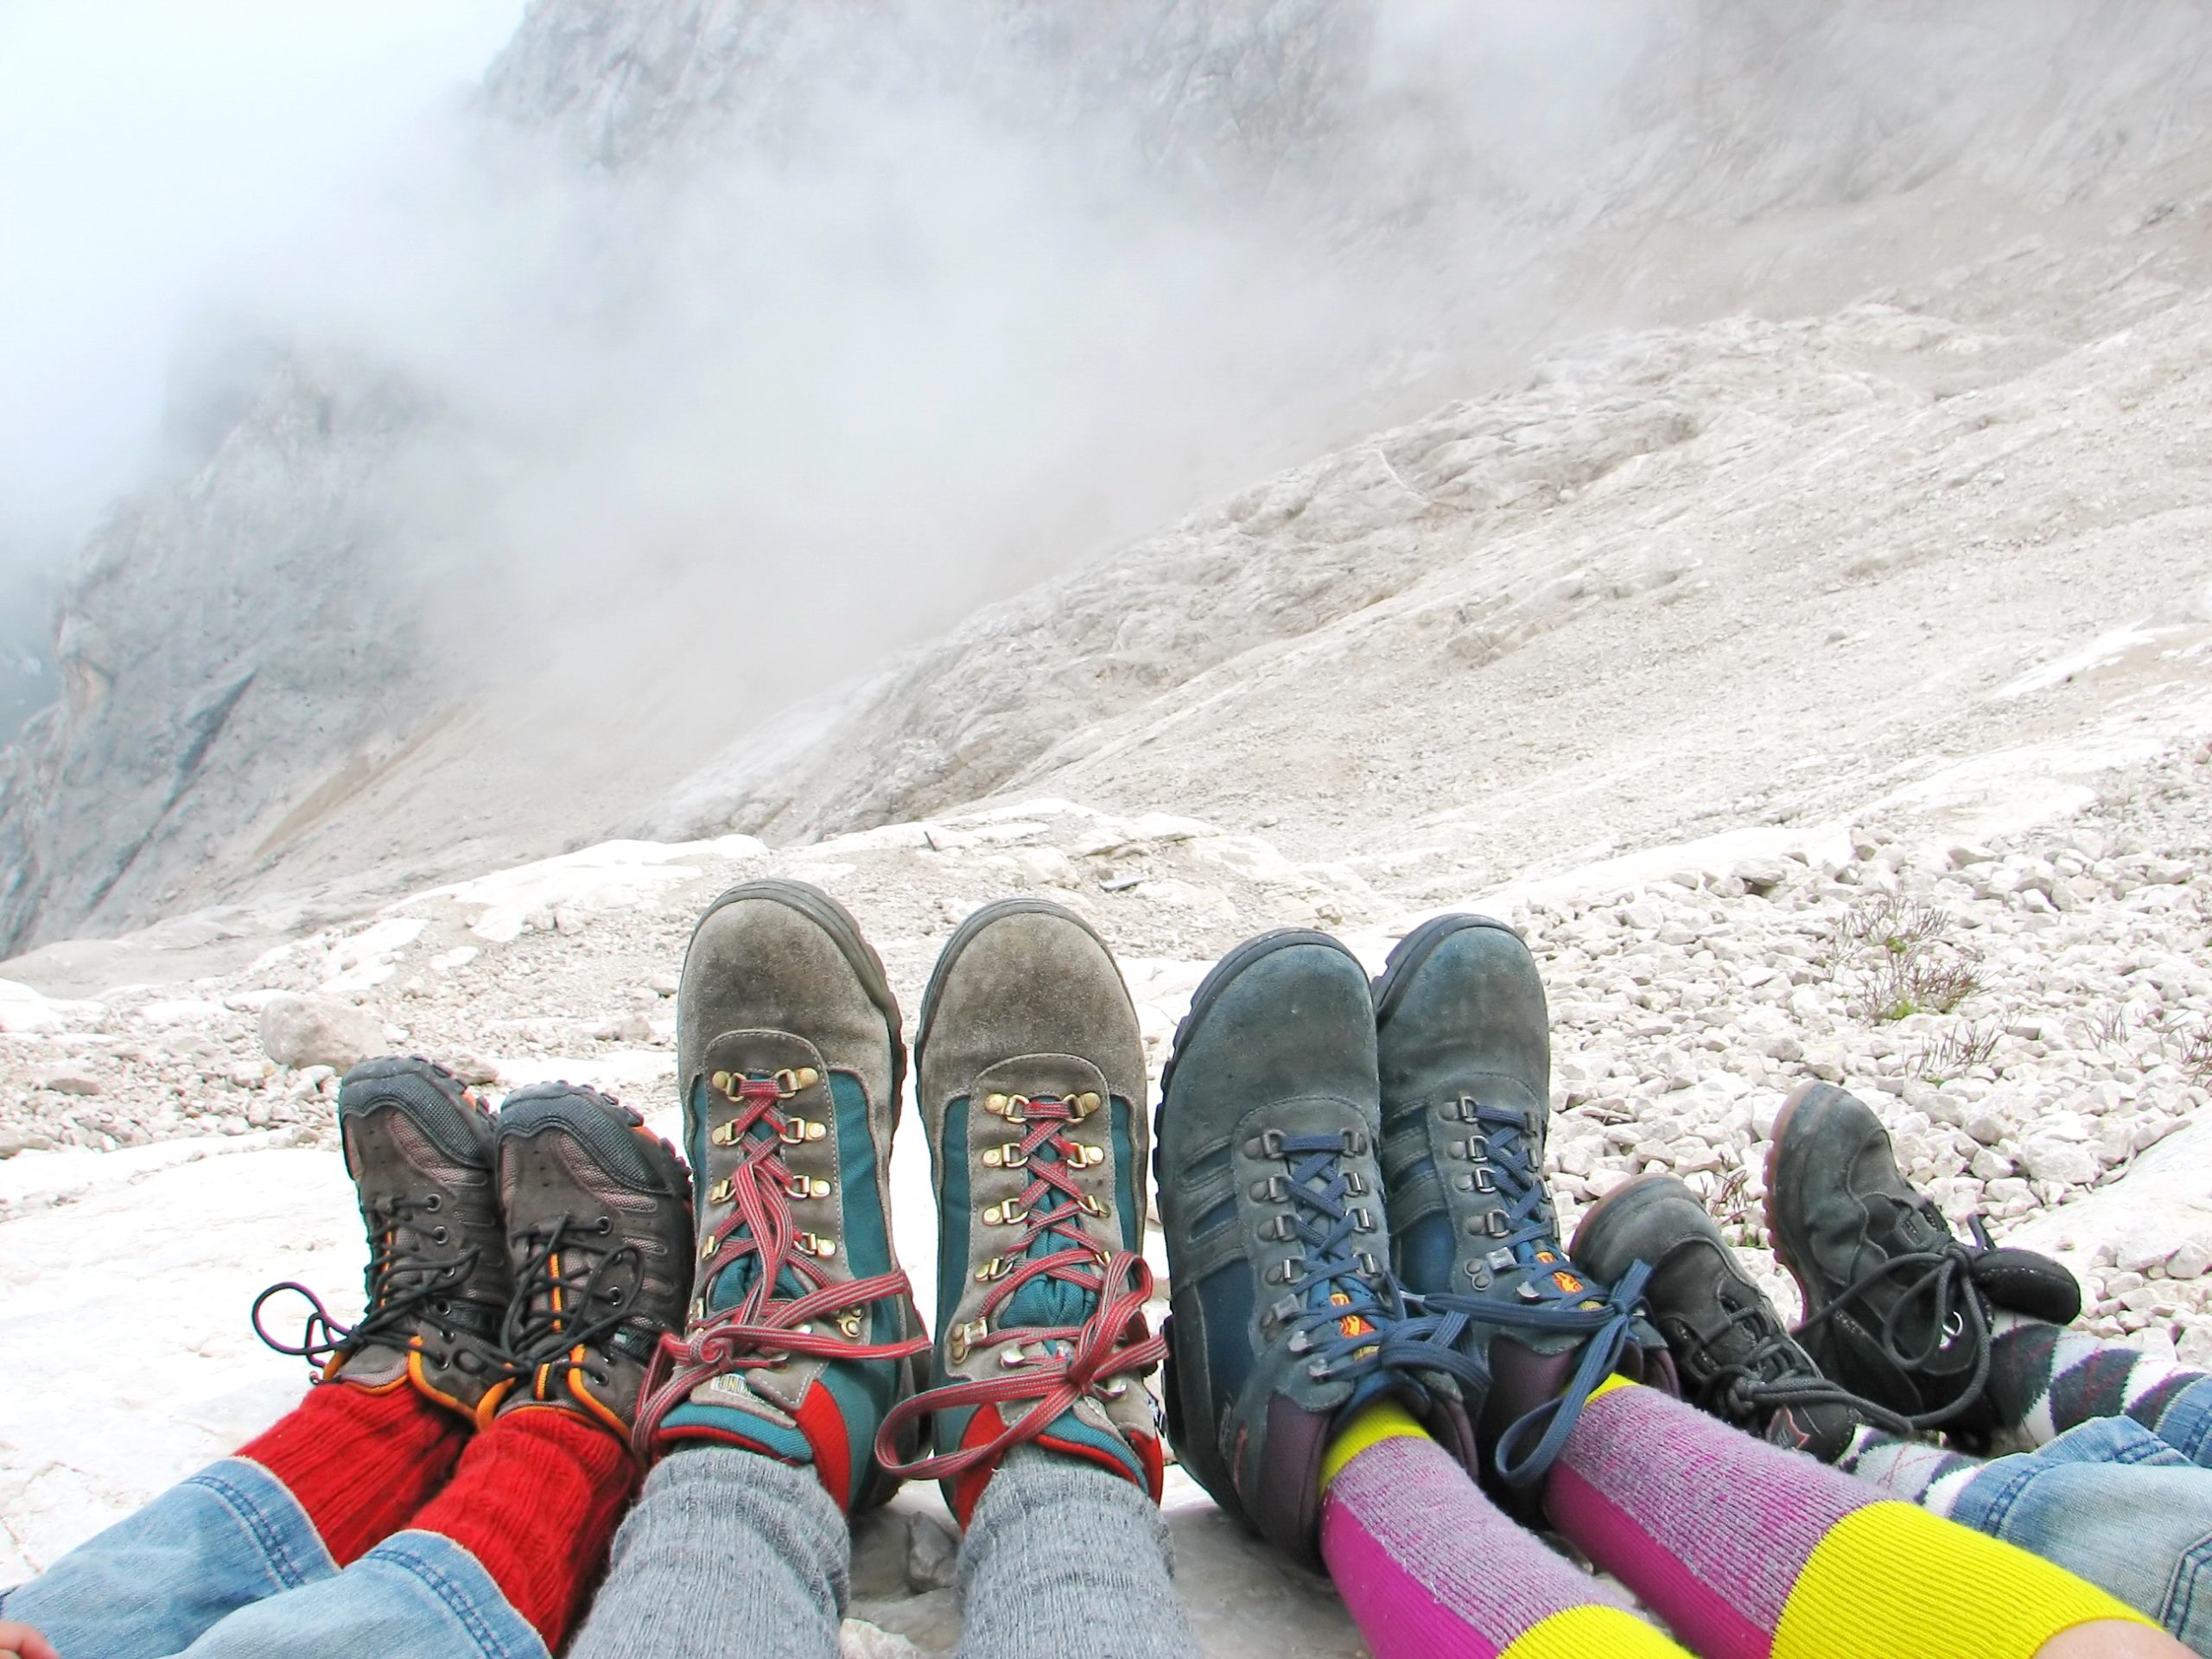
Without a doubt, one of the most common injuries you’ll likely get while hiking is blisters. Small, but incredibly painful these pesky little flesh wounds can quickly turn a wonderful hike into a downright miserable walk of pain. The good news is that with the right gear and a little extra care, blisters can be prevented. Here are some of the best tips to prevent and treat blisters while hiking.
Sturdy Footwear
If you can only invest in one thing for hiking, make it your footwear. Improper footwear not only increases your chances of pains, strains, and sprains, but it can also cause painful blisters. When it comes to choosing a hiking shoe or boot, you want something that’s sturdy, comfortable, and will hold up for miles and miles of walking. Sweat, heat, varying terrain, and constant walking can cause your feet to swell leading to friction and ultimately blisters, so it’s best to choose a half-size bigger to prevent too much rubbing.
Hiking Socks
The socks you wear on a hike are just as important as the shoes. Your everyday cotton ankle socks typically won’t be good enough making you more prone to blisters. When choosing the right socks for hiking, consider the fit, height, padding, and fabric. You’ll want well-fitting socks that are high enough to prevent your shoes from rubbing against your skin, have a bit of padding for comfort and warmth, and have a moisture-wicking fabric that will keep your feet dry.
Keep Your Feet Dry
Sweaty feet, wet and muddy conditions, or accidental slips in a creek, damp or wet socks are not only uncomfortable, but they’re a recipe for pesky blisters. Always pack an extra pair of socks in your gear, just in case. If your feet do happen to get wet, remove your socks, let your feet dry, and put on a clean, dry pair. You can easily hang wet socks on the outside of your backpack so they dry while you’re on the move.
Tend to Hot Spots
A hot spot is a red, tender area caused by friction that usually signals the beginning of a blister forming. With a bit of extra attention, however, you can generally tend to these hot spots and stop them from becoming full-blown blisters by applying a bandage or athletic tape over the hot spot and swapping out damp socks for fresh, dry ones.
Blister First Aid
Unfortunately, blisters can happen, even after following preventative measures. If you or a companion do get a blister, it’s possible to treat and make it a little less painful and also prevent infection. A donut-shaped moleskin dressing or blister bandage is a great item to always have in your first aid kit to cushion the surrounding area from further friction. These donut-shaped dressings should be placed over the area with the blister in the center hole. Then, apply tape over it to keep it in place.
If you have a larger blister that will likely pop if you continue your hike, it may be best to intentionally pop it to prevent dirt and sweat from entering it. First, clean the area with an alcohol wipe or warm soapy water and use a flame-sterilized needle to gently pop the blister. Soak up the fluid with sterile gauze. Once dry, apply an antibiotic ointment and cover it with a moleskin and or bandage to protect it.
First Aid Kit Essentials for Blisters
Here are some items you should keep in your first aid kit to prevent and treat blisters.