In a life-threatening emergency, using a tourniquet can save an injured person’s limb, and sometimes their life. A tourniquet is used to stop blood flow to an artery or vein. When injuries are severe, it may not always be possible to stop blood flow from a wound with direct pressure and a tourniquet may be the only option. In our Wilderness First Responder Course, you’ll gain first-hand training on how to properly apply a tourniquet and other life-saving skills. While it’s ideal for a trained medical professional to apply a tourniquet, any bystander can do so with the correct tools and knowledge.
Tourniquets are used in emergency situations when bleeding is uncontrollable and the risk of death is high. They should only be applied as a last resort when all other options to stop the bleeding haven’t worked including elevating the limb above the heart and applying direct pressure to the wound for 15 minutes to allow a clot to form. A tourniquet’s sole purpose is to prevent fatal blood loss while you wait for emergency help.
Tourniquets should only be used on severe injuries on a person’s limbs and cannot be used on wounds to the head or torso. They shouldn’t be used as an alternative to stop bleeding. Only use tourniquets when all other methods to stop the bleeding such as direct pressure have failed.
Stop the Bleeding
When someone gets a severe wound, the goal is to stop the bleeding as quickly as possible to prevent excessive blood loss. Find the source of the bleeding, then expose the wound by cutting or tearing away clothing. Immediately apply firm, direct pressure to the wound using gauze or a clean cloth to stop the bleeding. If the bleeding does not stop with direct pressure you may need to apply a tourniquet.
Apply the Tourniquet
Place the tourniquet at least 2-3 inches above the wound, between the wound and the heart. You can apply the tourniquet over clothing if necessary. For example, for a leg wound, apply there tourniquet closest to the groin and if the wound is on the arm, place it near the armpit. Do not apply a tourniquet over a joint such as a knee, wrist, ankle, or elbow as you won’t get the pressure you need to stop the bleeding.
Tighten the Tourniquet
Manually tighten the tourniquet by clipping the sides together using the buckle and pilling firmly on the strap. You want to tighten the tourniquet as much as possible. Twist the windlass rod in one direction to increase the pressure to stop the bleeding.
Secure the Tourniquet
Once the tourniquet has been tightened and the bleeding has stopped, you need to prevent the windlass rod from unwinding. Using the strap, secure the windlass rod in place.
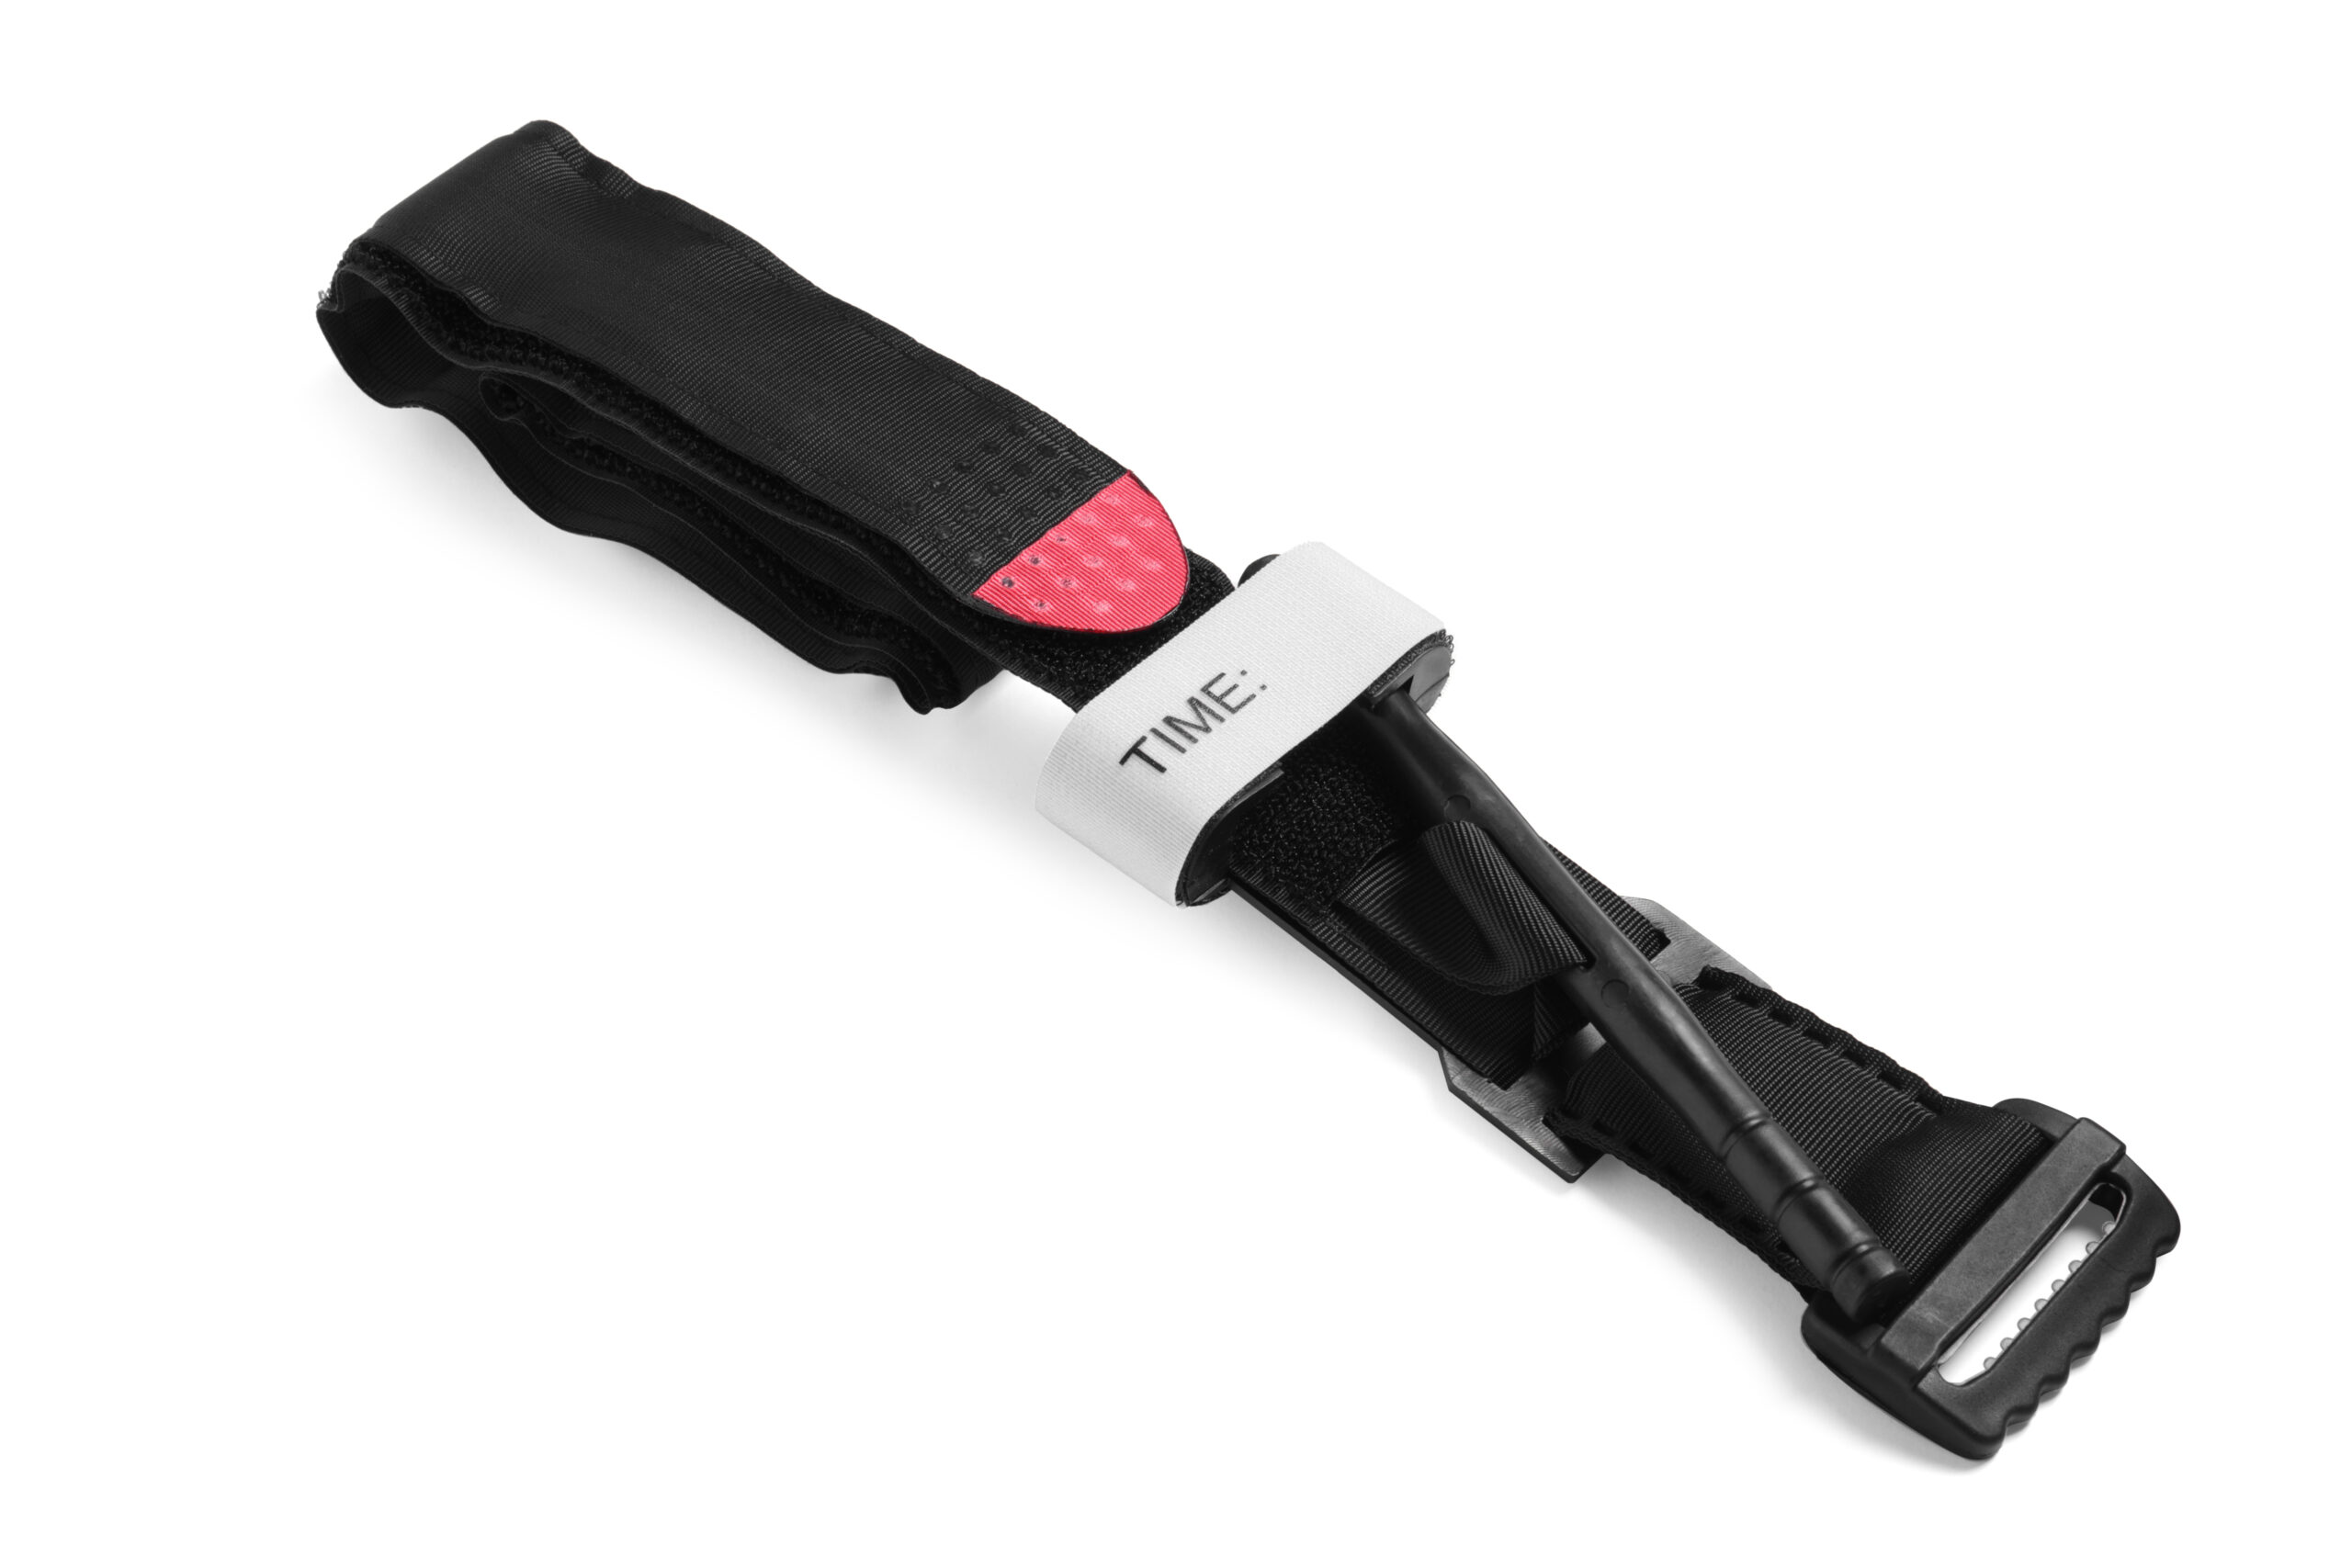
Note the Time
It’s vital to note the time the tourniquet was applied as leaving it on too long can damage the tissue.
While a commercial tourniquet is most effective, if you are not an EMT, you most likely won’t have access to one as first aid kits generally don’t come with one. You may find yourself in an emergency situation without a commercial tourniquet and you may need to improvise by creating a makeshift tourniquet. Essentially a makeshift tourniquet is made up of two parts — a bandage and a windlass.
Bandage: You can use any piece of material that’s at least 2 to 3 inches wide and is able to overlap when wrapped around the extremity. You want a cloth that’s sturdy and flexible such as a bandage, cloth, or article of clothing. The triangle bandage that is commonly found in first aid kits is ideal.
Windlass: The windlass is a stick or rod that you can twist to tighten the tourniquet and is sturdy enough that it won’t break easily. You could use a screwdriver, pen, wooden spoon, a strong stick, or a piece of wood.
To apply a makeshift tourniquet, do the following:
Write the time on the bandage, so paramedics know when it was applied.
Tourniquet Mistakes
DON’T wait too long before applying a tourniquet. Too much blood loss can cause the person to go into shock and be fatal. After direct pressure has failed to stop blood loss, a tourniquet should be applied.
DON’T apply the tourniquet too loosely. A loose tourniquet will not effectively stop the bleeding. Avoid using stretchy or slippery fabrics to prevent the tourniquet from becoming stretched or misplaced.
DON’T loosen a tourniquet once it’s on. Loosening it allows blood to rush back to the wound which can be dangerous. Only a trained medical professional should loosen the tourniquet.
DO apply a second tourniquet above the first one if the bleeding doesn’t stop after the first tourniquet is correctly applied.
DON’T leave a tourniquet on for more than two hours. If left on too long, it can permanently damage muscles, nerves, and blood vessels and may cause complications for that limb.
